

We're now on TikTok!
I share one delicious recipe every day on TikTok! Don’t miss out on the fun and tasty ideas. Click below to follow me and stay inspired!
Follow Me NowLet me guess… you’ve been seeing sourdough bread everywhere, and now you want to try it too. But then you read “starter” and suddenly it feels like a science project!
Don’t worry, it’s actually SO much easier than it looks.
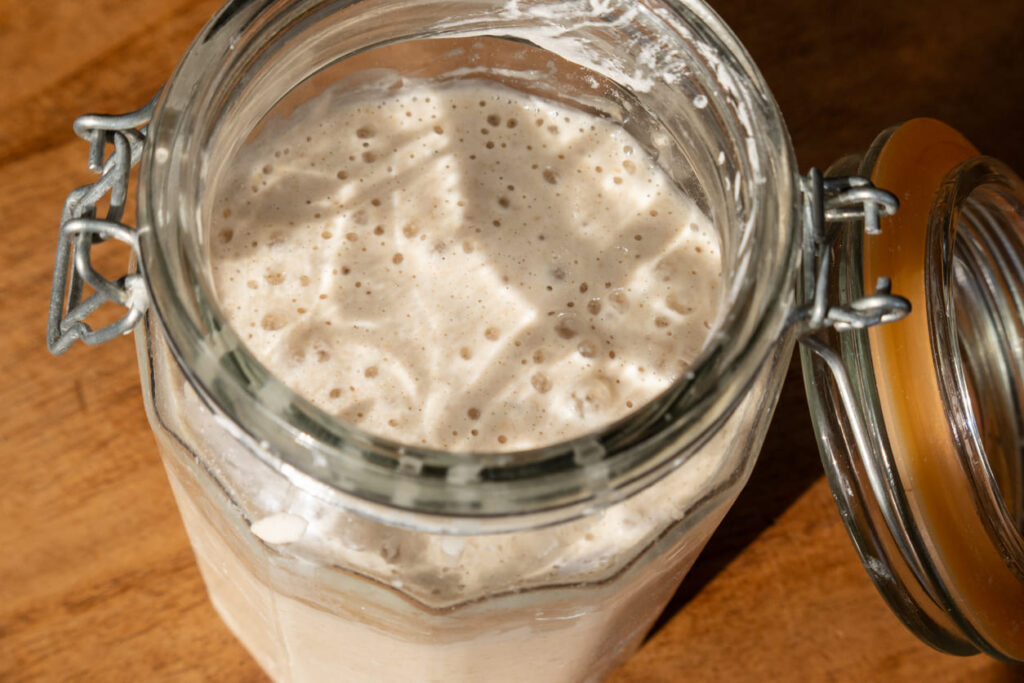
This sourdough starter is just flour + water, and in a few days you’ll have a bubbly little jar that can turn into real bread. If I can do it, you definitely can.
Sourdough Starter Recipe for Beginners
What You’ll Need
You only need 2 ingredients:
- Flour (all-purpose or whole wheat—both work!)
- Water (room temperature)
Optional (but helpful):
- A clean jar or container (glass is great)
- A spoon
- A kitchen scale (not required, but makes it easier)
- A cloth or paper towel + rubber band (or a loose lid)
The Basic Rule (So You Don’t Get Confused)
A starter is just flour + water that ferments naturally over time.
You “feed” it every day by discarding some and adding fresh flour and water.
For beginners, I recommend this simple ratio:
We're now on TikTok!
I share one delicious recipe every day on TikTok! Don’t miss out on the fun and tasty ideas. Click below to follow me and stay inspired!
Follow Me Now50g flour + 50g water (or equal parts in volume if you don’t have a scale).
Day-by-Day Sourdough Starter Instructions
Day 1:
In your jar, mix:
- 50g flour
- 50g water
Stir well until there are no dry spots. It will look like a thick pancake batter.
Cover loosely (it needs air!), and leave it at room temperature.
Day 2:
You might see nothing. That’s normal! Just stir it once, cover again, and let it sit.
Day 3:
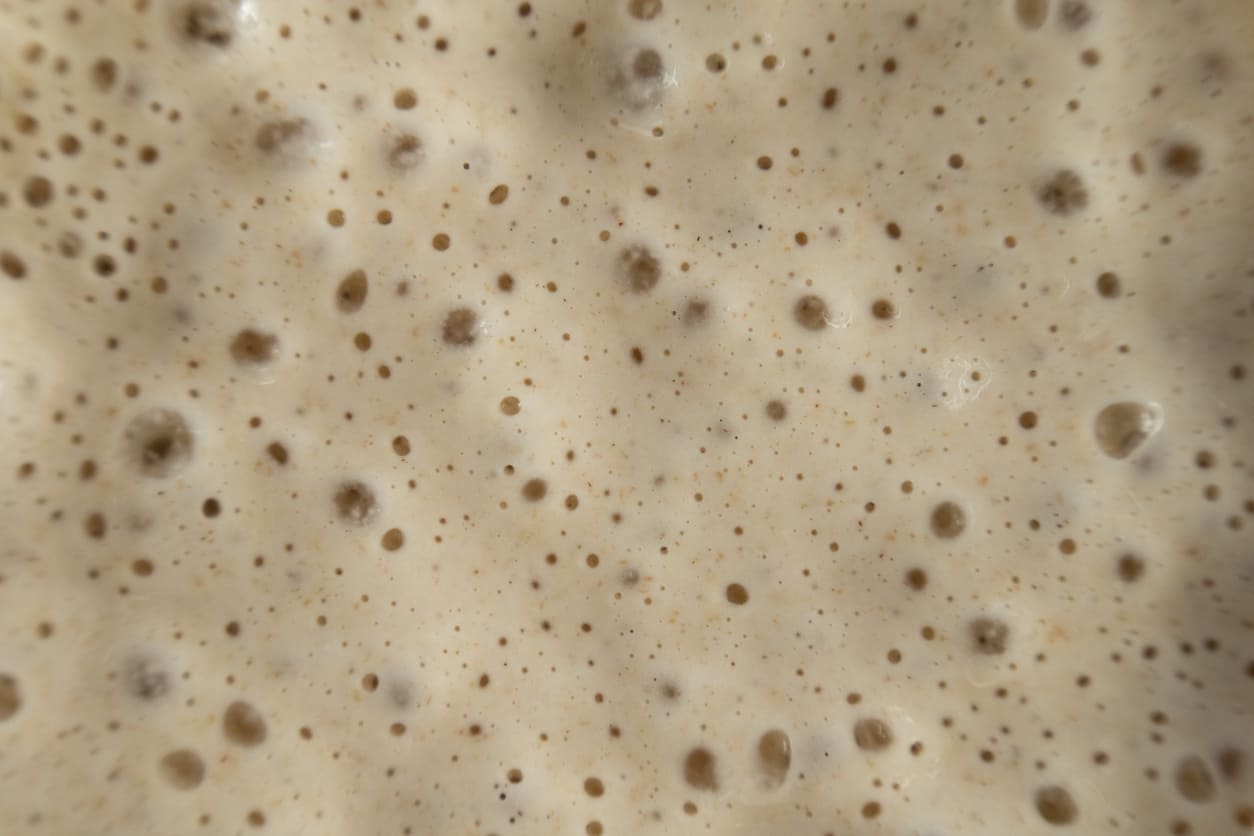
Now you might notice bubbles or a slightly sour smell. That’s a good sign!
Do your first feed:
- Discard about half of the starter.
- Add 50g flour + 50g water.
- Mix well, cover loosely, and leave it again.
Day 4:
Repeat the same feeding:
- Discard half
- Add 50g flour + 50g water
- Mix, cover, rest
Day 5:
Your starter should start becoming more active now—more bubbles, a stronger smell, and maybe it will rise a little.
Feed it again the same way.
Day 6–7:
By now, many starters are ready! A healthy starter usually:
- Bubbles a lot
- Smells tangy (like yogurt or vinegar—pleasant, not rotten)
- Doubles in size within 4–8 hours after feeding
If yours isn’t there yet, don’t panic. Some starters take a few extra days depending on your kitchen temperature.
How to Know If Your Starter Is Ready
Here’s the easiest beginner test:
After a feeding, mark the level with a pen or rubber band. If it rises and doubles, it’s strong enough to bake with.
(And yes, you can do the “float test” later, but honestly? Watching it rise is the simplest.)
Beginner Tips (So It Works the First Time)
- Keep it warm: Starters love warmth. A cooler kitchen = slower growth.
- Use whole wheat if you’re struggling: It ferments faster and can “boost” your starter.
- Don’t close the lid tightly: It needs to breathe.
- If you see liquid on top: That’s normal! Stir it in or pour it off and feed it.
Once your starter is active, you can store it in the fridge and feed it weekly, super easy!
If you try this sourdough starter recipe, leave a comment and tell me how it went.
Have fun baking!
Leave a Reply